Vehicle Wraps are a great way to advertise your business and increase the marketing impact of your corporate fleet. At Pensacola Sign, we offer countless vehicle graphics and vehicle wrap options for clients interested in taking the next step. We consult, design and complete hundreds of vehicle wrap installation projects each year.
For those clients interested in learning more about how a vehicle wrap is installed—or those do-it-yourself clients who’d like a road map—we’ve compiled the following step-by-step guide of the proper way to install a vehicle wrap.
VEHICLE WRAP INSTALLATION TOOLS
Here are the tools you’ll need for a proper vehicle wrap installation:
- X-ACTO Knife
- Soft edge squeegee
- Alcohol
- Rag/Towel
- Propane Torch/ Heat tool
- Measuring tape
- 3M Primer product
- 3M high performance cast material
- And a freshly cleaned vehicle
You’ll also need a friend—preferably one who is skilled at this sort of thing. Two people working together helps keep the material tight to prevent air bubbles from forming under the film.
DESIGN AND PREPARATION
- After you have printed the custom vinyl vehicle wrap material, use a laminator to protect the material against UV damage and to ensure scratch resistance. We recommend using your hands and a clean cloth to wipe across the surface before sending it through the laminator in order to clear off any excess dirt or debris.
- Use 3M primer to prime the vehicle along deep channels and edges to help promote adhesion.
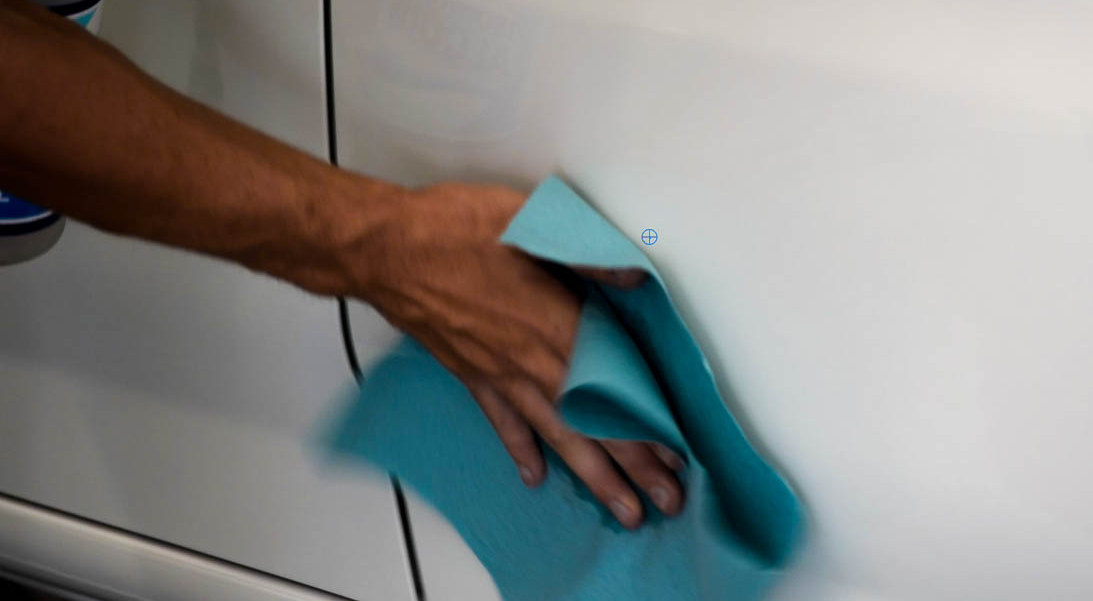
- Wipe down the vehicle with alcohol on any surfaces that may contain waxy residue, dust and dirt. It’s important to note that small dings, dents and rusted material will show through as impressions under the vinyl wrap.
- Carefully measure to ensure precise placement. Use tape and magnets as markers and holders.
INSTALLATION
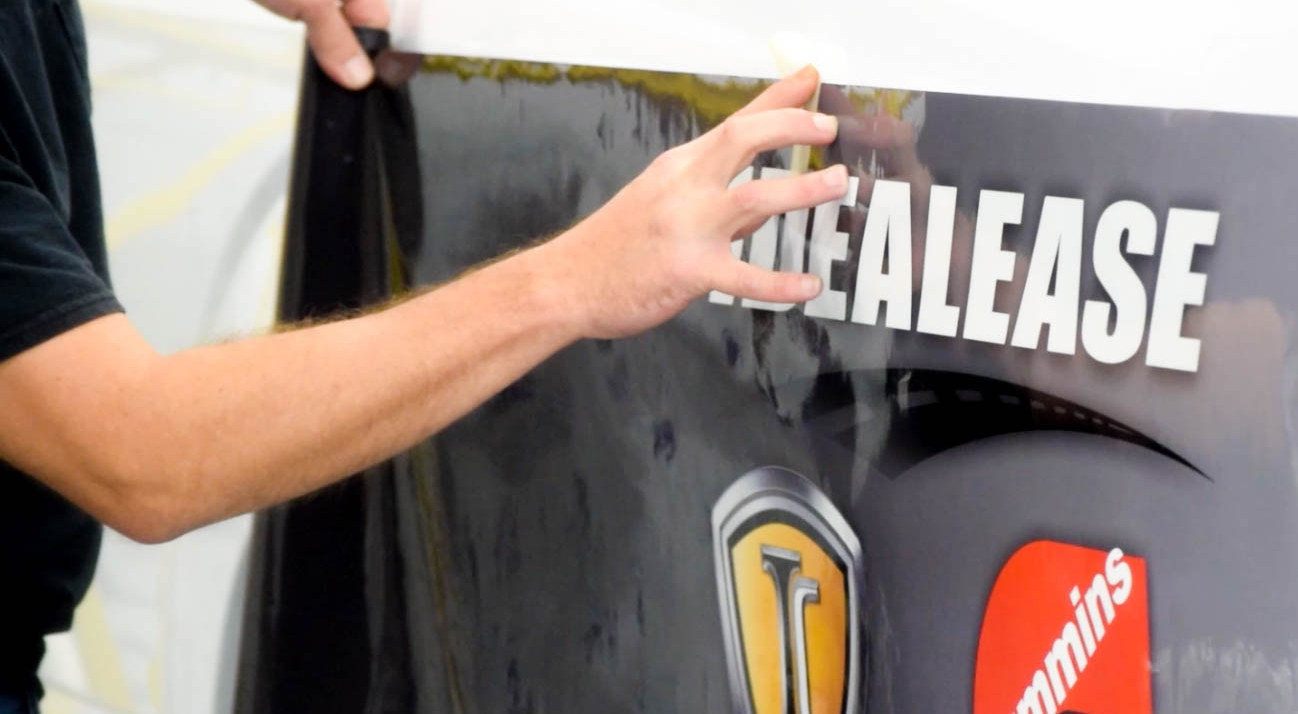
- Use a soft edge squeegee tool to place the film onto the surface. Be sure to start from the center and work your way out towards the edges. If you get stubborn air bubbles simply poke a small hole with an X-ACTO knife and use the squeegee tool to carefully flatten the surface. To get around difficult surfaces like door handles, simply place the decal as you would normally onto the surface and then go back with a cutting tool to remove unwanted film.
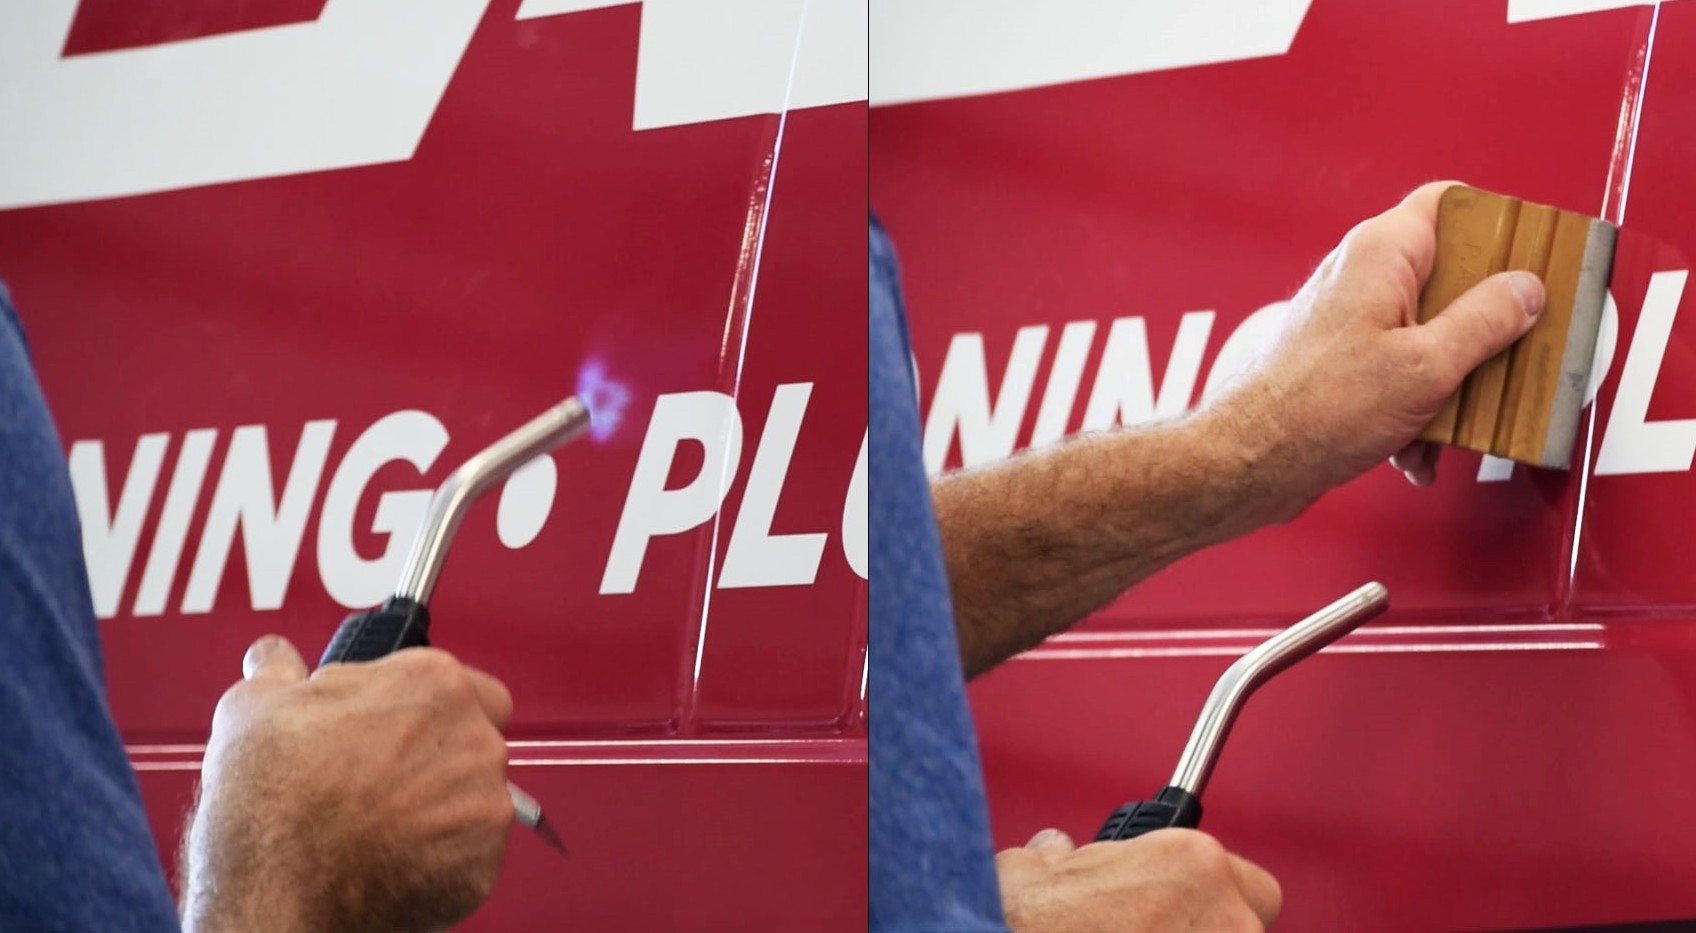
- Use a propane torch or heat gun to stretch and conform the material around complex edges and channels.
- Once you have firmly adhered the material onto the edges use the propane torch so seal the vinyl wrap material in order to achieve optimal bonding and conformity.
DECAL LETTERING AND PERFORATED WINDOW FILM
Use the same techniques for decal lettering and perforated window film. However, for perforated window film cut .25” from the edges to prevent curling.
WANT TO LEARN MORE?
If you want to learn more about vehicle wrap installation, we’d love a chance to speak with you in person. Or, feel free to click one of the following links for more blogs and helpful vehicle wrap tips: